Clients
Add a client
Section titled “Add a client”Open Glovelly Menu to add a client
- Open Clients in Glovelly Menu.
- Choose Add client.
- Enter the client name, billing email, address line 1, and city. Add the remaining address details when you have them.
- Save the client.
The client is now available when you create a gig. Their email and billing details can be used when you create an invoice.
Keep details useful
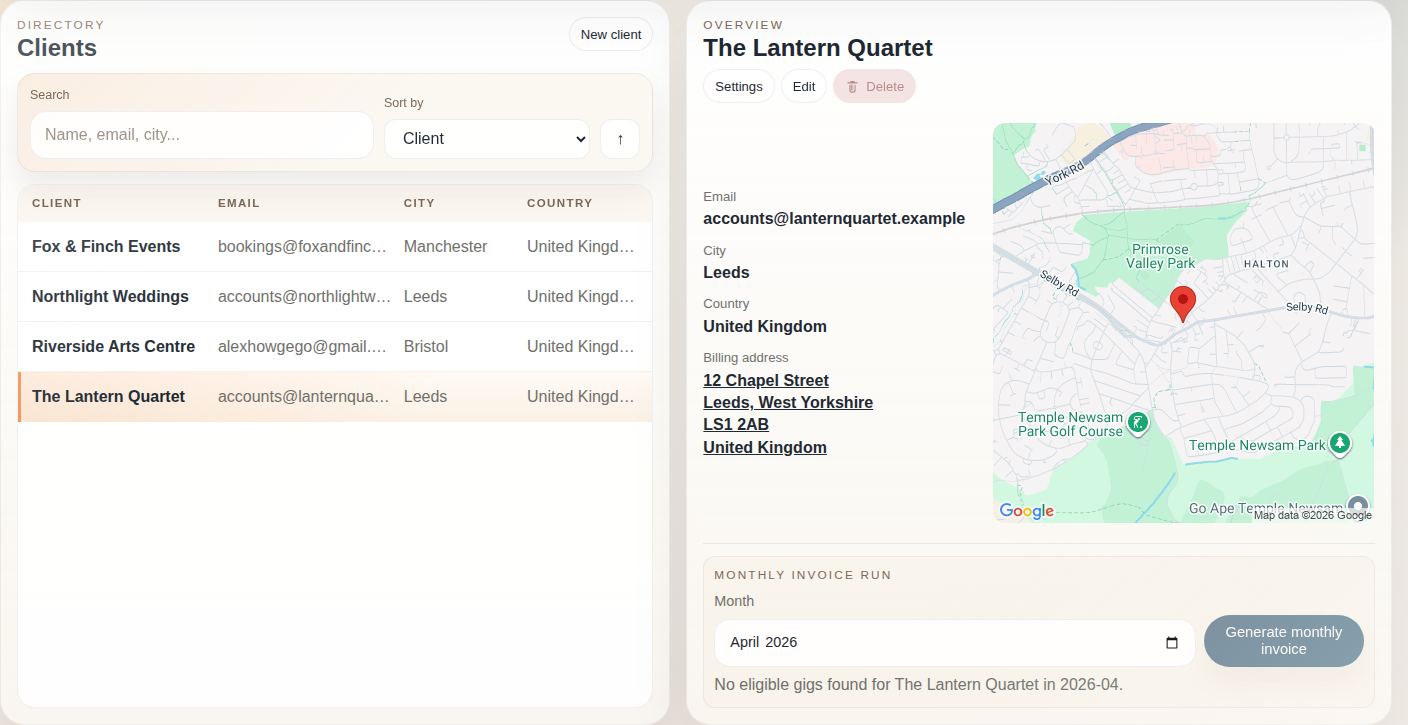
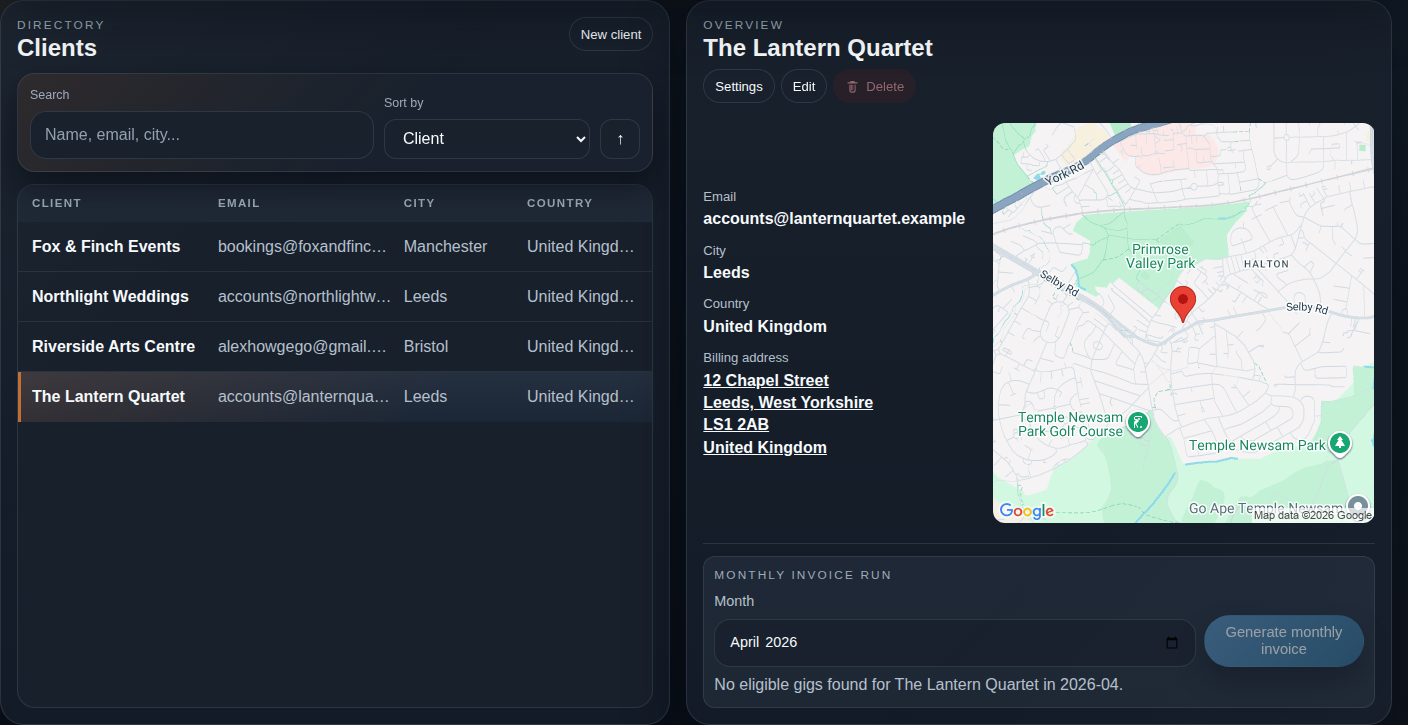
Section titled “Keep details useful”Open a client to update their details when they change. Client settings can also hold invoice filename, email-subject, payment-window, and mileage defaults for that client.
Contact and billing details appear directly in the pane, including the full address. Scroll the details region if an unusually long record needs more room. Monthly invoicing and editing remain available without opening a separate read-only details dialog.
Check the billing location
Section titled “Check the billing location”Choose the saved billing address to search for it in Google Maps in a new tab. Where available, an unverified map search image appears beside the details and opens the same search. Hover over or focus the image for help. The whole map fits the available space, including attribution; there is no per-client approval checkbox.
Use the written address to check the result: an image is not confirmation that Google found the right place. To correct the location, edit and save the billing address. Narrow panes, an open editor, or unavailable imagery may hide the image; the address and Maps link remain usable.
Automatic previews send the saved location to Google and load an image directly in your browser. Google receives browser network/request information too. See privacy and terms for details.
Need help? Contact help or report a problem.