Expenses, receipts, and mileage
Add an expense
Section titled “Add an expense”Open Glovelly Menu to record an expense
- Open the saved gig.
- Choose Expenses, then Add expense.
- Enter a clear description and amount, then save the expense.
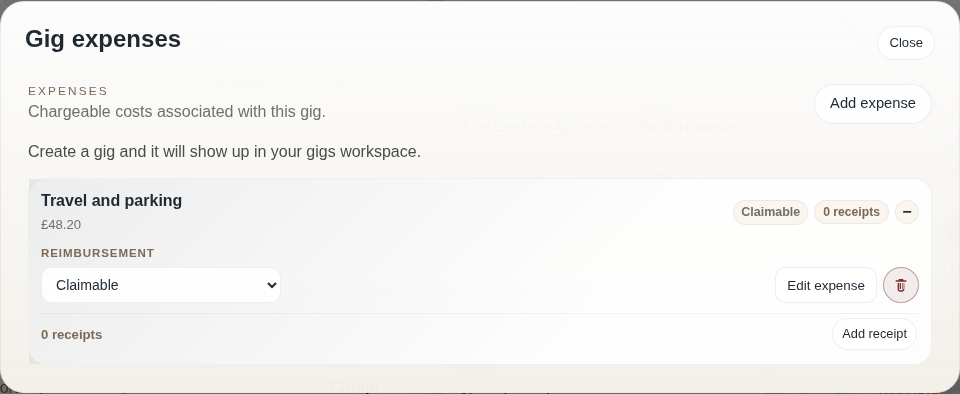
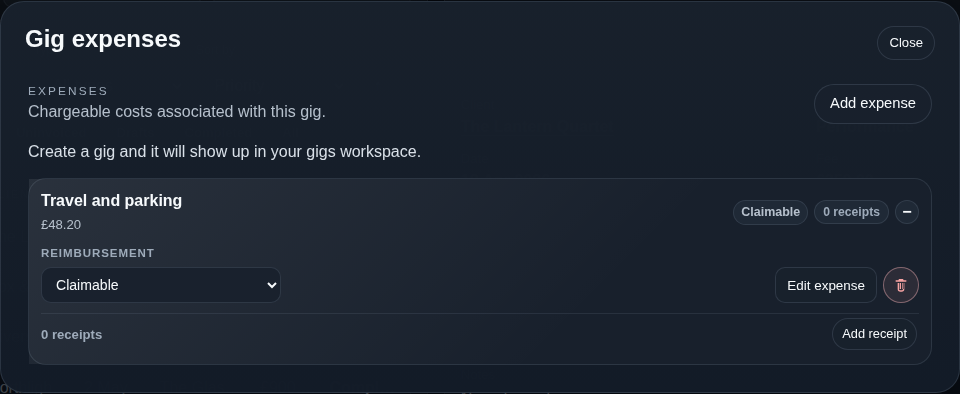
- Expand the saved expense to add a receipt, change its reimbursement state, or review an existing receipt.
The expenses dialog stays open after saving. Close it to return to the gig overview. If you have unsaved changes in the expense editor, confirm whether to discard them before closing.
A saved receipt stays with that expense. You can download or remove the attachment later without changing the expense’s reimbursement state.
Record mileage
Section titled “Record mileage”- Edit the gig and select I was driving for this gig.
- Enter travel miles and any passenger count.
- If available, use Estimate mileage, then check and adjust the result before saving.
Mileage uses the applicable saved rate when an invoice is generated. If mileage estimation is unavailable, you can still enter the miles yourself.
Claimable or reimbursed
Section titled “Claimable or reimbursed”Claimable expenses can appear on a newly generated invoice. Mark an expense Reimbursed when it has already been paid back; it is then excluded from new invoice lines by default.
Need help? Contact help or report a problem.